

妇科
妇科是我院最具实力的品牌科室,由30余年临床经验的主任医师为学科带头人,5名主治医师主诊,利用现代高科技诊疗设备:如电子数码阴道镜、荧光肿瘤诊断仪、红外线乳腺诊断仪、微波综合治疗仪、彩超诊断仪等,能有效治疗各种阴道炎、宫颈炎、子宫内膜炎、子宫肌瘤。
查看详细>>产科
大象彩票产科中心是经国家卫生部门审批验收合格,符合国家产科标准并颁发产科许可证的合法机构,可提供婴儿出生证,在专业人才、技术力量和医疗设备的配置方面都处于全市较高水平。在惠阳大亚湾地区首家推出限价分娩服务,率先开展免费孕妇宣访,24小时免费专车。
查看详细>>不孕不育
惠阳长安是广东省不孕不育研究基地,硕果累累,数千名来自全国各地的不孕不育患者在长安治疗成功受孕,喜圆生儿育女梦,包括十年不孕、三次试管婴儿失败、多次怀孕反复胚胎停育等众多特殊病例,均在长安顺利圆梦,获得了不孕不育患者的一致好评。
查看详细>>影像科
影像科配置了日本原装进口的日立牌带电视遥控式 X 光机、日本产彩色 B 超和黑白B超、彩色多普勒仪、十三导联心电图机等先进的仪器设备。可开展身体各部位的 X 线摄影、透视;心脏、血管及小器官、腹部超声波检查;脑电地形图检查;心电图检
查看详细>>外科
大象彩票普通外科分肝胆外科、胃肠外科、甲乳外科三个亚专科,科室配备有进口蛇牌3-D最新腹腔镜系统、巴德乳腺旋切系统、奥林巴斯胆道镜系统,以及硬质结直肠镜系统和肿瘤微波消融设备。手术室配备杂交手术室,可进行普通手术和介入手术同时手术或即时转换,保障病人手术安全。科室初期开放36张床位,4张监护床位,所有床位均为高级电动床。
查看详细>>口腔科
大象彩票口腔科始建于2001年,经过10年的发展,其环境、设备、技术、服务等方面在惠阳及周边区域已有较高的知名度,具有很好的专科优势。为了进一步加强口腔科的建设,医院2010年又投巨资重新进行了装修,全部更新了牙科设备。
查看详细>>体检科
大象彩票体检科位于医院大楼5号楼,是专门为体检与健康咨询所设的服务场所,温馨优雅的体检环境,独有的全中央空调、空气净化系统,既能控制室温,又能避免交叉感染。中心内设有专门接待登记处,内科、外科、妇科、眼科、耳鼻喉科。
查看详细>>中医康复科
大象彩票弘扬中医传统文化,服务社区居民健康,依托于广东省中医药学会、广东省中西医结合学会等权威中医药研究机构,中医科以方药、针灸、推拿、拔罐、熏蒸为主,充分利用传统康复手段,结合现代中医学的理论和诊疗方法,对各常见病、多发病、疑难病进行全面有效诊断。
查看详细>>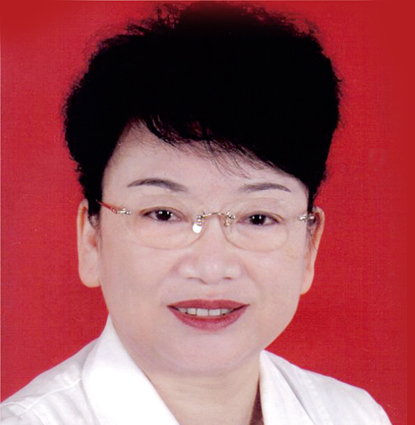
高霞
不孕不育
在女性不孕的诊治方面卓有建树,采用独特的中西结合技术,以"怀孕率高”、“技术精湛”、“送子观音"著称,为无数不孕不育家庭圆了梦想。
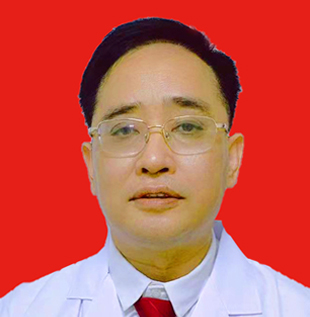
熊道明
肛肠科主治医师
肛肠科主治医师 中西医结合专业。从事临床工作三十余年,积累了丰富的临床经验。师承于深圳市肛肠专科医院院长,肛肠专家杜克义教授。擅长中西医结合诊治肛肠专科各种疾病。如:各期痔疮、内痔、外痔、混合痔,肛周脓肿、肛裂、复杂性肛瘘、肛周尖锐湿疣、肛乳头瘤(肛乳头肥大)、肛周瘙痒、便秘、
熊道明
肛肠科主治医师 中西医结合专业。从事临床工作三十余年,积累了丰富的临床经验。师承于深圳市肛肠专科医院院长,肛肠专家杜克义教授。擅长中西医结合诊治肛肠专科各种疾病。如:各期痔疮、内痔、外痔、混合痔,肛周脓肿、肛裂、复杂性肛瘘、肛周尖锐湿疣、肛乳头瘤(肛乳头肥大)、肛周瘙痒、便秘、
查看详细>>
邹海昌
整形美容科
擅长韩式塑形、隆胸、抽脂减肥、重睑、祛眼袋、隆鼻、除皱、改变脸形、切除疤痕、祛除腋臭、处女膜修复、阴道紧缩、阴茎延长等整形美容手术。

周凌燕
妇科,产科
擅长妇产科常见病、多发病的诊断、治疗,对妇产科急、危、重症的诊治有丰富经验,并能熟练开展宫、腹腔镜手术,有丰富的妇产科临床工作经验。先后在中华妇产科杂志上发表过“多次手术史产妇再行剖宫产的术前风险评估”、“剖宫产术出现脾破裂的对症处理”、“宫腹腔镜在不孕症治疗过程中的合理应用”等多篇学术论文。
周凌燕
主治医师
擅长妇产科常见病、多发病的诊断、治疗,对妇产科急、危、重症的诊治有丰富经验,并能熟练开展宫、腹腔镜手术,有丰富的妇产科临床工作经验。先后在中华妇产科杂志上发表过“多次手术史产妇再行剖宫产的术前风险评估”、“剖宫产术出现脾破裂的对症处理”、“宫腹腔镜在不孕症治疗过程中的合理应用”等多篇学术论文。
查看详细>>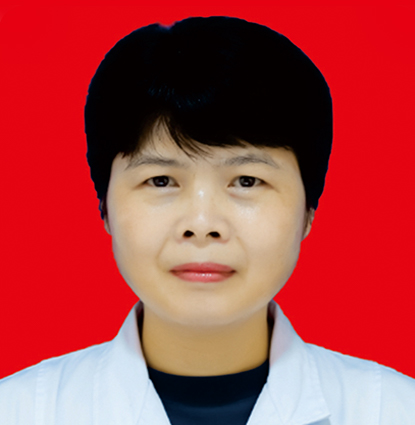
张雪芳
妇科
擅长各种妇科生殖道疾病,月经病,内分泌失调,盆腔疾病,宫颈疾病的诊治。熟练妇科无痛人流,上环,取环,诊刮等手术。
张付云
内科
擅长诊治内科常见病,多发病,特别是呼吸系统,消化系统,心脑血管系统均有独特的诊疗。
叶继永
泌尿科
对男性泌尿、生殖系感染性疾病、前列腺疾病、性功能障碍(阳萎、早泄)、男性不育症等有丰富的临床经验。
王凤
不孕不育
40岁内患者临床妊娠率达65%以上,完成取卵周期2000多例,IUI及宫腔灌注等手术上千例。
苏国艺
整形美容科
擅长运用美学设计理念,个性化定制美容方案;擅长眼、鼻整形及修复、面部年轻化,隆胸,形体雕塑等。
史慧娟
妇科
擅长诊治妇科常见病、多发病,对顽固性阴道炎、宫颈炎、盆腔炎、附件炎、功能性子宫出血、月经不调等有丰富的经验。
申明
泌尿科
擅长泌尿外科及普外科各种开放手术与微创腔镜手术 ,可熟练开展输尿管硬(软)镜下钬激光碎石取石术、经皮肾镜碎石取石术、前列腺电切术、腹腔镜肾囊肿去顶术、腹腔镜精索静脉高位结扎术、腹腔镜阑尾切除术、腹腔镜胆囊切除术、腹腔镜胃肠穿孔修补术等。
申明
副主任医师
擅长泌尿外科及普外科各种开放手术与微创腔镜手术 ,可熟练开展输尿管硬(软)镜下钬激光碎石取石术、经皮肾镜碎石取石术、前列腺电切术、腹腔镜肾囊肿去顶术、腹腔镜精索静脉高位结扎术、腹腔镜阑尾切除术、腹腔镜胆囊切除术、腹腔镜胃肠穿孔修补术等。
查看详细>>
刘阿玲
儿科
对儿科感染性疾病,呼吸系统、消化系统、过敏性疾病、新生儿疾病有丰富的诊疗经验。
张志长
中医科
擅长诊治: 常见病、多发病( 肾虚、腰酸背疼、手足麻木、头痛、头昏等)。特别擅长 :骨科关节与颈椎腰椎间盘突出,膝关节、风湿、类风湿,骨质增生、妇科;痛经、月经不调、月经量少、恶露不尽、月痨病、不孕不育、乳腺增生、乳痛等。精湛的医术和高尚的医德赢得患者的尊重和信任,得到了上级部门多次嘉奖。
张志长
副主任医师
擅长诊治: 常见病、多发病( 肾虚、腰酸背疼、手足麻木、头痛、头昏等)。特别擅长 :骨科关节与颈椎腰椎间盘突出,膝关节、风湿、类风湿,骨质增生、妇科;痛经、月经不调、月经量少、恶露不尽、月痨病、不孕不育、乳腺增生、乳痛等。精湛的医术和高尚的医德赢得患者的尊重和信任,得到了上级部门多次嘉奖。
查看详细>>
李连军
外科
擅长普外、腹部外科开放手术及微创手术,对外科常见疾病、肛肠疾病有丰富的治疗、手术经验。
高慧宁
妇科
擅长诊疗各种妇科病的诊治,如顽固性阴道炎、宫颈炎、盆腔炎、附件炎、功能性子宫出血、月经不调等。
邓伟芬
不孕不育
精通各种助孕技术,带领团队每年完成取卵周期七千多例,平均妊娠率60%以上,位于国内先列,对疑难病例,卵巢功能减退与反复失败病例等各类不孕不育病例的个体化治疗效果显著。
邓朝芳
妇科,产科
擅长妇产科各类大小手术,对新生儿窒息、孕产妇危重症抢救、妇科微创手术等有丰富经验。
陈伟荣
影像科、体检科
对各种多发病、常见病的DR、CT及各类造影等检查,能作出准确的诊断,为临床做出并提供详细、客观、准确的医学影像诊断报告,深受临床和受检者的信任和好评。
陈浩杰
妇科
擅长各种妇科生殖道疾病,月经病,内分泌失调,盆腔疾病,宫颈疾病的诊治。熟练妇科无痛人流,上环,取环,诊刮等手术种月经病、宫颈疾病、不孕症等有独特的诊疗方法。